Sunday, November 30, 2008

fleece hats for every occasion

Last month, I made a pumpkin hat for Ruby.  The fleece hat was so easy to make, that I had to try some variations:

I made this little monster hat for a baby shower gift.  

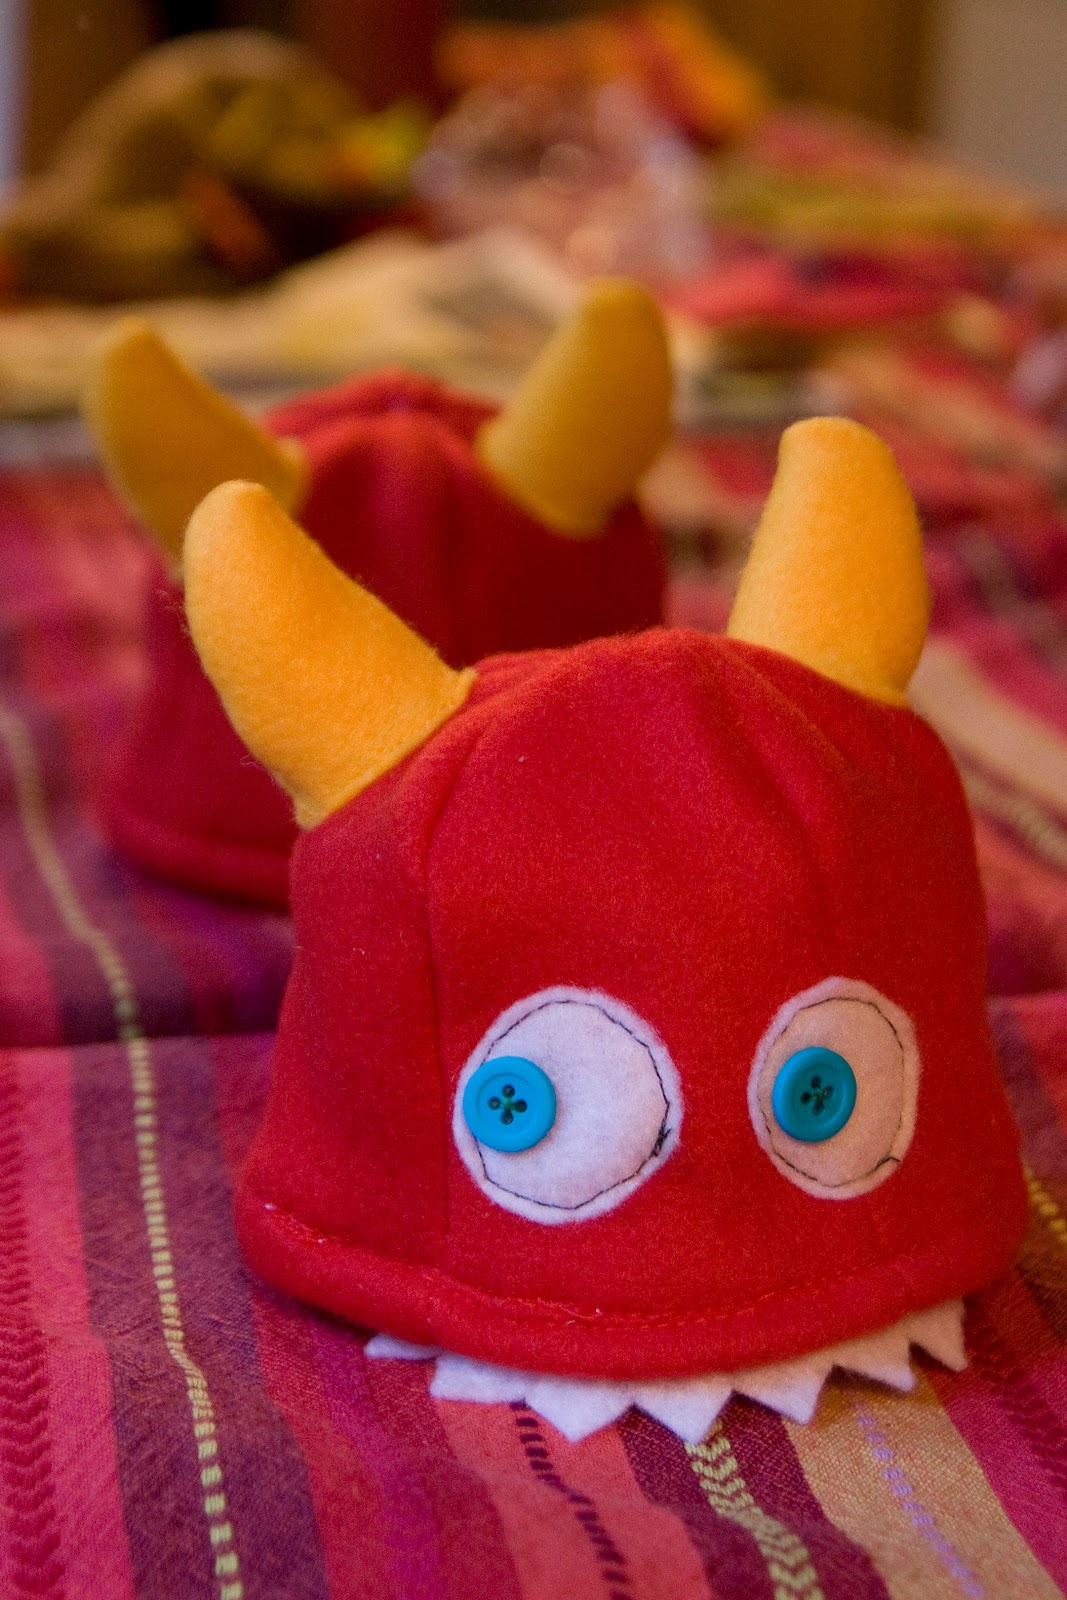
It is sized for a newborn.  I started with five 3" x 6" gothic-arch-shaped fleece panels.  I sewed those together to make the hat base.  I sewed white felt circles on for eyes and yellow felt horns on top.  I added bright buttons for monster eyes.  I hemmed the hat and sewed the felt teeth on at the same time.

I made this apple hat for a baby gift too.

I started with the same five-panel basic hat.  I made a cylinder for the stem... slightly wider at the top.  I used some skinny dark green scraps to make the veins on the leaf.  Perfect for the baby that is the apple of your eye!

Fleece hats can be styled for any occasion... well, any cold-weather occasion.  With all the sales on fleece right now, now is a great time to get creative.

My mother-in-law made this hat.

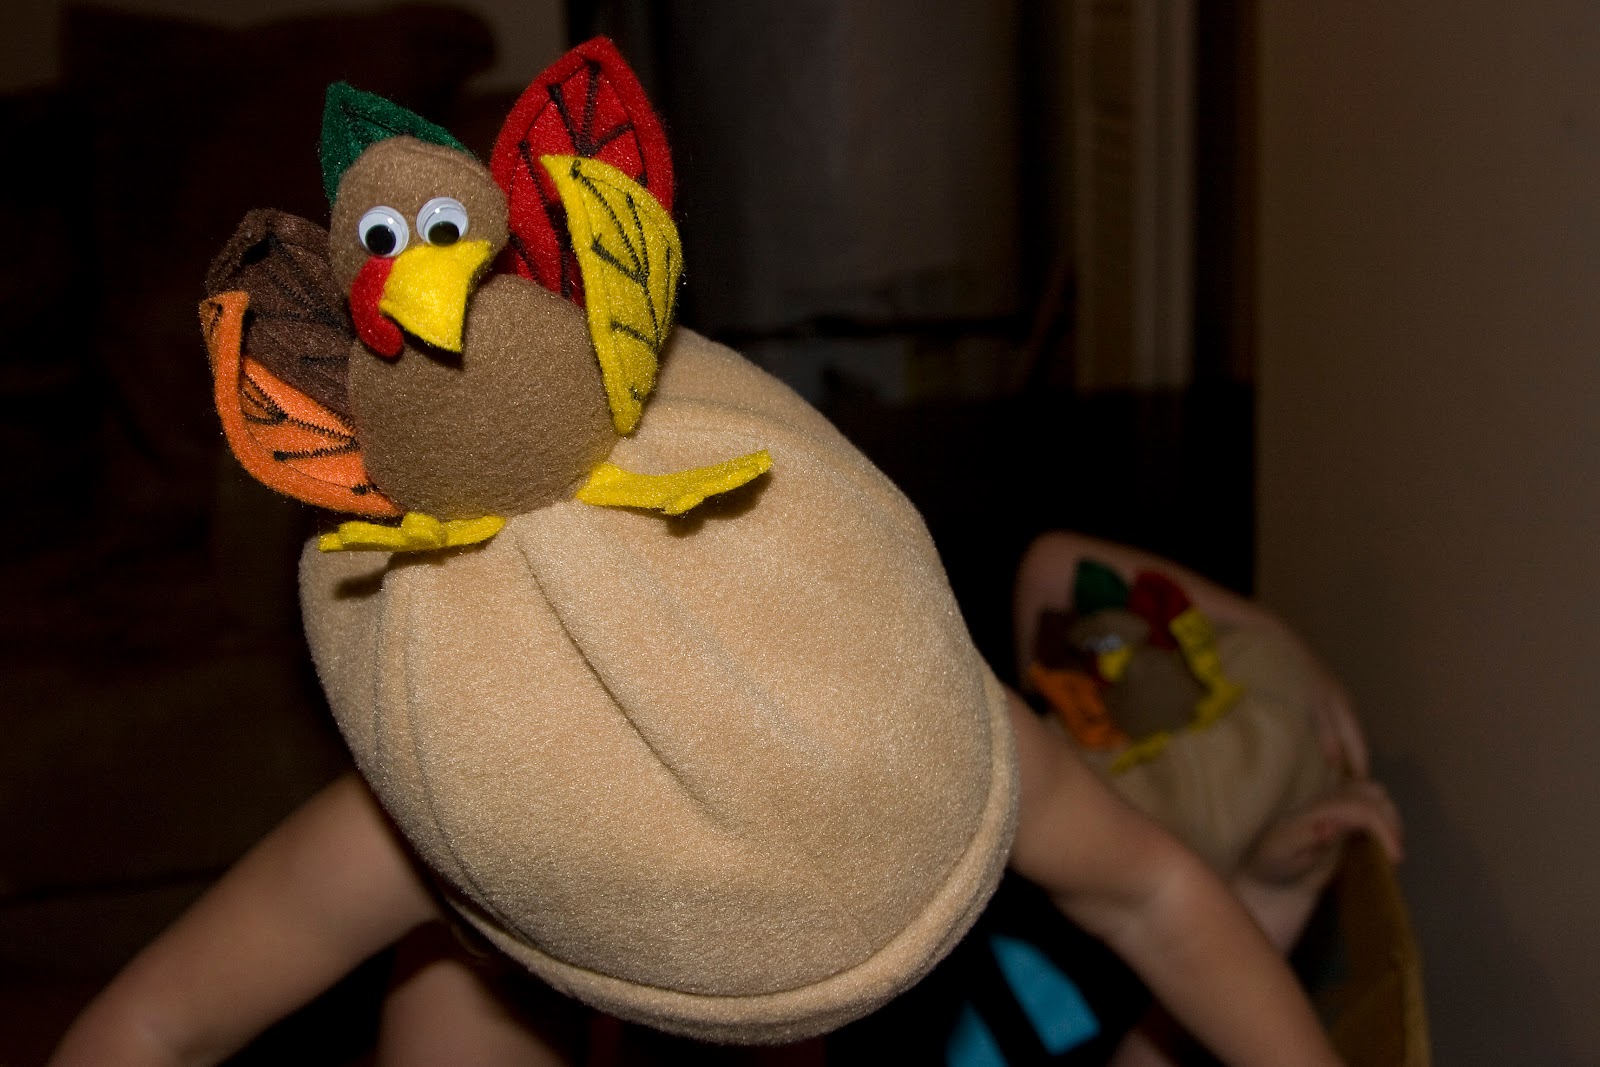
Actually, she made two.


No wait, actually, she made three... my nephew has one too.

Andy said she was trying to show me up.

What kind of fleece hat do you want to make?

Tuesday, November 18, 2008

paper Christmas ornaments

One of our family traditions is making Christmas ornaments to give to our friends!  They last longer than cookies and are just as fun to make!

Here is a simple project with stunning results...

I found some great paper ornaments at Paper Source for $1 each!  They come in a few different styles and shapes.

I started by putting a sheet of newsprint (tracing paper would work well too) over one facet of the ornament, and with a crayon, I rubbed over one side of the ornament to make a template.  That is the trickiest part.  If you have trouble holding the paper still, stick it on with double-sided tape so you can get an accurate template to work with.

Now here is the fun, creative part... trace the template on paper, cut out, and glue to the ornament. 

Paper Source has a delicious assortment of papers!  High quality wrapping paper would work.  Fabric would be fabulous!  I want to do one with a map of Chicago... maybe the train map!  Photos would work.  If you have a stack of kids artwork, cut it apart (if your kids are old enough, have them help).  This is a good way to display some of it and have a special memento every year.  Vintage text, prints and books make great coverings!

I used a book, Curious George Rides a Bike, to cover some ornaments.  I got the book at a thrift store for twenty-five cents.  It was old and didn't last too long as a book (with the help of Alli and Ruby), but I recycled what was left of it!  I traced the template over some of my favorite pictures and text.  I love how the black and red print on weathered, vintage paper pairs so well with Christmas paper!  Festive and cute!


I finished some ornaments with ribbon trim on the edges.  I gold-leafed the edges of another.  Tiny ric-rac would be a sweet way to finish them.  Oh, the possibilities!

If you like to throw fantastic holiday dinner parties, these would make amazing place cards and double as a party favor (for $1, you can't beat that!)  On one side put your guest's name or initials.  How fun to take home a special ornament as a keepsake from a dinner with friends!

I have already covered the half-dozen that I bought last week... and I am ready for more!

How are you going to decorate your ornaments?!  Please share!

Baby Sweater Makeover

I got this tiny silk newborn sweater for twenty-five cents.  It is so soft and adorable.  The only problem was the little snag on the front.

I stitched the snag so it wouldn't grow.  Then I covered up the scar with a button flower.  I used some vintage buttons and some new ones.  I like the eclectic mix of textures and colors.

I added a few other button flowers on the front and on the collar.  I stitched stems and leaves using three different colored strands of thread together.  The mixed threads are more interesting and homespun-looking.  I am not a talented embroiderer, but my basic stitches sufficed here.  I like the whimsical look.

I love the finished sweater! 
Just a few more weeks until baby arrives... in style.

Saturday, November 1, 2008

baby tag blanket

We have been busy making things for our baby.  This week the girls helped me make a tag blanket.  This project was inspired by the very crafty Jill
The fabric is from JoAnn... this piece was a remnant bin deal!  I used bits of ribbon around the edges.  Alli and Ruby helped pick out the ribbons. 
With the good side of two equal-sized fabric pieces facing in, I folded the 2-3 inch lengths of ribbon in half and pinned them between the fabric pieces.  Then I sewed the seam, securing the ribbons in place.  I did three and a half sides of the blanket before turning it inside out (fuzzy fabric side out) and finishing the last half side. 

I sewed another seam around the entire blanket to finish it off.

Hopefully they won't mind sharing this blanket with baby sister!

Make sure to use better quality ribbon for this as it will be washed and chewed on, etc.  I used some ribbons from products: Izod ribbon from one of Andy's new dress shirts, Ethel's Chocolate ribbon from a box of chocolates, Hermes ribbon, Toblerone ribbon from a Christmas package... I am a ribbon saver and this project was perfect to purge some of my collection.