Sunday, December 21, 2008

variation on a theme... hats


I made myself a hat.  A floppy, funky sort of beanie.

I got a wool sweater at my favorite thrift store.  I washed it in hot water and dried it in the dryer... against the recommendations of the tag... and I did it on purpose! 
Washing and drying the wool sweater bonded the fibers together, kind of like fleece or felt.  Once the sweater was shrunken and felted (nappy), I cut it apart.  I made six panels and sewed the pieces together.  I topped it off with a big button.  It still needed a little something... so I cut a flower out of a red wool sweater that I had washed and dried, stitched around the edge, sewed a button in the middle, and attached it to the hat with a safety pin...

Voila!

I also made stockings from these sweaters... check back soon to see!

Saturday, December 13, 2008

the Muff... a $5 winter essential!

We live in Chicago, so winter is all about surviving the extreme cold.  Two years ago I got a rabbit fur muff at the thrift store for Alli ($2 or $3).  It was vintage (the satin lining was a little dirty-looking, but the fur was nearly perfect on the outside).  I freshened it up with a new fleece lining.  It was perfect to keep in the stroller for winter walks!  Alli could keep her hands toasty warm  and I didn't have to worry about lost mittens.  Unfortunately, we had only one muff and two girls who wanted warm hands. 

Then I found another muff at my favorite thrift store!  What a bargain for $3!  And it matched the original muff!

This beauty is a real rabbit fur muff.  Classic.  I am not a huge fan of fur, but since this recycling, I think the bunny might approve... or at least not disapprove.

Anyhow, to rejuvenate this vintage muff, I made a tube out of new fleece (I bought a remnant from the fabric store for 75% off the original price) for the inside.  The tube is a rectangle folded in half with one seam sewn at the bottom.  To get the right size, start by guessing and trial-and-error... start a little big because it can always be trimmed smaller.

Once the tube of fleece is ready, check the size by slipping it inside the muff.  Make sure the tube is long enough to reach the fur all around the openings on both sides.

Now get out your needle and thread!  Stitch the new fleece lining into the muff.  Be sure to stitch all the way around the hole on both sides.  The stitching doesn't have to be too pretty, fleece and fur are very forgiving.

When you are done, stick your hands into the muff and feel the fleecy-warmth!  For under $5, we have the best hand-warmer in Chicago!  Seriously, when using the muffs, Alli and Ruby have never complained about cold hands!

Here we are two winters ago, strolling with the original muff!  I did change the strap on the original muff this year.  It had a wristlet-style strap, so I took it off and put a neck strap on it (so there would be no reason to fight over who got which one).

We are glad to have two girls and two warm muffs! 

I am on the lookout for another matching muff... baby girl #3 is coming soon!


More fleece hats!


My creative mother-in-law made these adorable snowman hats. 

Okay, now she is trying to show me up

PS- My mother-in-law rocks!


Sunday, November 30, 2008

fleece hats for every occasion

Last month, I made a pumpkin hat for Ruby.  The fleece hat was so easy to make, that I had to try some variations:

I made this little monster hat for a baby shower gift.  

It is sized for a newborn.  I started with five 3" x 6" gothic-arch-shaped fleece panels.  I sewed those together to make the hat base.  I sewed white felt circles on for eyes and yellow felt horns on top.  I added bright buttons for monster eyes.  I hemmed the hat and sewed the felt teeth on at the same time.

I made this apple hat for a baby gift too.

I started with the same five-panel basic hat.  I made a cylinder for the stem... slightly wider at the top.  I used some skinny dark green scraps to make the veins on the leaf.  Perfect for the baby that is the apple of your eye!

Fleece hats can be styled for any occasion... well, any cold-weather occasion.  With all the sales on fleece right now, now is a great time to get creative.

My mother-in-law made this hat.

Actually, she made two.


No wait, actually, she made three... my nephew has one too.

Andy said she was trying to show me up.

What kind of fleece hat do you want to make?

Tuesday, November 18, 2008

paper Christmas ornaments

One of our family traditions is making Christmas ornaments to give to our friends!  They last longer than cookies and are just as fun to make!

Here is a simple project with stunning results...

I found some great paper ornaments at Paper Source for $1 each!  They come in a few different styles and shapes.

I started by putting a sheet of newsprint (tracing paper would work well too) over one facet of the ornament, and with a crayon, I rubbed over one side of the ornament to make a template.  That is the trickiest part.  If you have trouble holding the paper still, stick it on with double-sided tape so you can get an accurate template to work with.

Now here is the fun, creative part... trace the template on paper, cut out, and glue to the ornament. 

Paper Source has a delicious assortment of papers!  High quality wrapping paper would work.  Fabric would be fabulous!  I want to do one with a map of Chicago... maybe the train map!  Photos would work.  If you have a stack of kids artwork, cut it apart (if your kids are old enough, have them help).  This is a good way to display some of it and have a special memento every year.  Vintage text, prints and books make great coverings!

I used a book, Curious George Rides a Bike, to cover some ornaments.  I got the book at a thrift store for twenty-five cents.  It was old and didn't last too long as a book (with the help of Alli and Ruby), but I recycled what was left of it!  I traced the template over some of my favorite pictures and text.  I love how the black and red print on weathered, vintage paper pairs so well with Christmas paper!  Festive and cute!


I finished some ornaments with ribbon trim on the edges.  I gold-leafed the edges of another.  Tiny ric-rac would be a sweet way to finish them.  Oh, the possibilities!

If you like to throw fantastic holiday dinner parties, these would make amazing place cards and double as a party favor (for $1, you can't beat that!)  On one side put your guest's name or initials.  How fun to take home a special ornament as a keepsake from a dinner with friends!

I have already covered the half-dozen that I bought last week... and I am ready for more!

How are you going to decorate your ornaments?!  Please share!

Baby Sweater Makeover

I got this tiny silk newborn sweater for twenty-five cents.  It is so soft and adorable.  The only problem was the little snag on the front.

I stitched the snag so it wouldn't grow.  Then I covered up the scar with a button flower.  I used some vintage buttons and some new ones.  I like the eclectic mix of textures and colors.

I added a few other button flowers on the front and on the collar.  I stitched stems and leaves using three different colored strands of thread together.  The mixed threads are more interesting and homespun-looking.  I am not a talented embroiderer, but my basic stitches sufficed here.  I like the whimsical look.

I love the finished sweater! 
Just a few more weeks until baby arrives... in style.

Saturday, November 1, 2008

baby tag blanket

We have been busy making things for our baby.  This week the girls helped me make a tag blanket.  This project was inspired by the very crafty Jill
The fabric is from JoAnn... this piece was a remnant bin deal!  I used bits of ribbon around the edges.  Alli and Ruby helped pick out the ribbons. 
With the good side of two equal-sized fabric pieces facing in, I folded the 2-3 inch lengths of ribbon in half and pinned them between the fabric pieces.  Then I sewed the seam, securing the ribbons in place.  I did three and a half sides of the blanket before turning it inside out (fuzzy fabric side out) and finishing the last half side. 

I sewed another seam around the entire blanket to finish it off.

Hopefully they won't mind sharing this blanket with baby sister!

Make sure to use better quality ribbon for this as it will be washed and chewed on, etc.  I used some ribbons from products: Izod ribbon from one of Andy's new dress shirts, Ethel's Chocolate ribbon from a box of chocolates, Hermes ribbon, Toblerone ribbon from a Christmas package... I am a ribbon saver and this project was perfect to purge some of my collection.

Thursday, October 30, 2008

from plain to bloomin' cute!


My mom gave me a cute plain white shirt for Ruby.  It had a tiny hole in it.  I stitched the hole shut and covered the scar with a flower sequin secured with  thread and a seed bead.  Then I went a little nuts and added dozens more flower sequins.


Ruby likes her re-styled shirt.  Me too.

I bet you can't tell where the hole was!

(Flower sequins by Doodlebug Designs.  You can buy them here.)

Sunday, October 26, 2008

for the newest monster...


Alli and Ruby helped make this squeaky tag monster toy for their new baby sister (coming soon).
The squeaker in the tummy is from another toy that wasn't as cute.  We used this fun, stringy fur cut in the shape of a monster blob.  I sewed the face on using felt pieces, then sewed the two sides of the monster blob together.  The tags were sewn into the seams.  The girls stuffed the monster and inserted the squeaker and then I sewed the bottom seam shut with a few more ribbon tags in it.  I finished it off with button eyes.
Alli and Ruby had fun testing out the squeaker.  They can't wait to give it to the newest little monster!

Ric rac pumpkin

Inspired by the fabulous Eddie Ross, I had to make a ric rac pumpkin all my own.

I did mine au natural with yellow ric rac trim... not quite as sophisticated as his, but we are having a kid Halloween at our house.  Easy, quick and adorable!

Wednesday, October 8, 2008

saving the earth one baggy at a time


For those of you who are trying to live green, this is a project for you! This is great for packed lunches and picnics. When opened, the sandwich holder doubles as a plate.

I started out with an octagon pattern (I made mine from a trimmed piece of 12x12 inch scrapbooking paper... this holds a full size sandwich, not just the half. But if you like taller sandwiches loaded with stuff, you may want to cut a larger octagon). Cut out two octagons from cute fabric (be extra green and cut fabric from clothes in your toss pile) and one octagon from clear vinyl (available at craft store or recycle from those clear zipper bags that comforters and sheet sets come in).

You can also use a vinyl tablecloth or oilcloth and one piece of fabric... I couldn't find any cute oilcloth at JoAnn's when I was making this... so vinyl worked for me. If you are looking for cute oilcloth, check this out!

Stack the three octagons like this: fabric, vinyl, fabric (patterns facing in). Sew together, leaving one side open. Turn inside-out, make sure the vinyl covers the fabric you want to be on the sandwich-side of the sandwich holder. Make a little tab with a scrap of fabric and sew the scratchy piece of velcro to the tab. Sew this tab onto the sandwich holder when you close the open end. Sew around the edges of the octagon to finish it nicely. Add the soft piece of velcro to the fabric side of the sandwich holder... fold the sandwich holder to find the right position.

Make a sandwich, wrap it up, take it somewhere and enjoy!

This super-cute lunch accessory can be used over and over. Usually I just wipe it down after each use, and wash it in the washer every week or so. Wash regular and lay flat to dry (vinyl side down).

I made a few of these for Alli's school lunches... different fabrics for different moods. I made a smaller one (about 8x8 inches) that is great for pretzels, cookie, etc.

This project was inspired by another creative blog... but I have lost the link. I will try to find it and post it here. Sorry.

because I felt like it...


I finished the shirt for Alli's pirate costume... arg! The felt is black with glitter interspersed. I would describe this style as girly-glam pirate chic.

This shirt was in the toss pile. It had a few stains from summer fun. The skull and bones covered most of the stains and gave this shirt new life.

I cut the image out of felt and stitched it on the shirt with the sewing machine.


I also reinvented some of Alli's old leggings for Ruby. I'm hoping Ruby will not get tired of hand-me downs if I freshen them up.

I cut off a few inches from the legs, added pom-pom trim and a few felt critters. I sewed buttons on for eyes. The bat on the back covers a spot that was a little worn. Originally the pumpkin was the only thing on the front, but Ruby wanted to wear them backwards so she could see the bat. I added the spider to the front so she would wear them the right way. Ruby loves these pants and wears them as often as laundering allows.

Friday, October 3, 2008

Halloween garland

I love fall. I love Halloween! It is such a fun, creative, imaginative holiday!
This year we made a Halloween garland to hang over our dining table. We die-cut several Halloween shapes (I used QuicKutz Revolution shapes) from scraps of fall-colored paper. Alli and Ruby decorated several of the shapes with markers and crayons. We strung thread from the wall to the light fixture and then used small pieces of clear tape to hang the die-cut papers on the threads.
Alli and Ruby are so proud of their contributions. The garland is whimsical and festive, and just the right project for an afternoon of spooky fun.

pumpkin hat


Ruby wants to be a pumpkin for Halloween. So I made her a costume. I still have work to do on the suit, but the hat is done, and I love how it turned out! Ruby likes it too and has been wearing it everywhere!
I love working in fleece and felt. They are so easy to work with (and very forgiving)! I made six panels of orange fleece in the shape of Gothic arches. I sewed those together and topped it off with a felt stem (rectangle and circle sewn into a cylinder) and a felt veined leaf. I hemmed the hat so it sits just above Ruby's eyes.
The entire project took about 30 minutes... I was on the phone with my mom the whole time. Not bad.
I promise it is easy, but if you need help, come on over and I'll coach you.

Tuesday, September 9, 2008

Sugar and spice... and hair bows

Here are some hair bows I made recently for a benefit auction. You can bid for them on my other blog by leaving a comment (please don't bid here).
My supply list for these includes: metal hair clips (the pinchy kind), felt, buttons, beads, jewels, silk flower, ribbon, suede, peacock feather, glue gun, thread.
I cover one side of the clip with flocked ribbon or felt to cling to fine baby hair (fewer lost bows that way).

Friday, September 5, 2008

Bathroom Art

I painted these tiny canvases for our bathroom. They are whimsical, gentle reminders for the bathroom.

Sunday, August 17, 2008

project runway stroller


Far too often my girls are wearing out their toys (partly because most toys these days are made cheaply and partly because the girls are wildly active and "imaginative" with their toys). The latest toy to be worn out: the beloved doll stroller.
So the choices are: 1. throw out the old stroller, buy another one and wear it out too, 2. redo the fabric on this stroller... and make it stronger and more darling... and add a few bells and whistles.
The choice was obvious.
Alli helped me pick out the fabrics. At one point she held up two pieces of fabric and said "I don't know if these make sense together" (sometimes we watch a little Project Runway together). So we picked different fabric. We added a bead trim to the canopy.
On the back we added a pocket... and more bead trim.
So we ended up using a sparkly pink fabric, the brown canvas with polka-dots, and the mid-century-modern multi-colored design, and a teal paisley fabric. As Tim Gunn would say, "We made it work."
And this is why I doubled up the fabric and reinforced seams...

Wednesday, May 7, 2008

Mom, don't look at this yet...

Mom, if you are reading this, stop now... until my card arrives in the mail.

Here is a card I made for my mom. I went with a bird nest theme. There are many, many kids in my family, and 90% are out of the nest. My mom is an amazing mother, who has had a busy, full nest for 39+ years. Anyhow, I thought Mom would appreciate the sentiment... and she always appreciates any home-made card from her peeps... er, kids.

This is the front of the card. The mama bird and the nest. (Click on the pictures for a more detailed view.)
This is the inside. There are ten little birds inside (there are ten kids in my family) who have hatched from their eggs and are flying around like chickens with their heads... oh wait, lets stick to nice bird-isms...they are flying around like a bird out of ... oh well. Crazy, busy, colorful flying birds. Here is a little detail on the back of the card... under the heart-felt message to my mom.

The card is made from paper collage and drawing. The paper shapes were made by cutting freehand (with my favorite Tonic spring-cut scissors... essential for detailed cutting), and there are some QuicKutz die-cut shapes as well.
The birds are simple to make: cut out two tear-drop shapes, one larger than the other (I used QuicKutz rain die-cuts). Use the large one as the body, the small one as the wing. Add a beak, eye (googly eyes are great for this), and twiggy feet.
The darling patterned papers are manufactured by Colorbok, Chatterbox, Paper Source, Bazzill, SEI, and others.
My mom will like it. Happy Mothers' Day!

Thursday, April 24, 2008

My current project...

I am working on a small quilt. It is not done, so here is a preview. I have added a few beads to this piece. This is my first time adding beads to a quilt, and I love how it is turning out. This is a small quilt, so I should be done soon... and I will post a complete picture.


I am already plotting out my next quilt project. Here is a small collage version.

I am not quite sure how to do it... but that is how I like to start most projects. I will start working on the fish quilt as soon as the little one is done.


Sunday, March 9, 2008

Framed

I painted this landscape about five years ago as my goodbye to Utah. This is a painting of a fantastic spot in southwest Provo. The painting has been framed in a second-hand wood frame from D.I. This week I fixed up that old $2 frame. I primed it and gold-leafed it, and now I just love the frame. The painting looks so much better bordered in crackled gold.
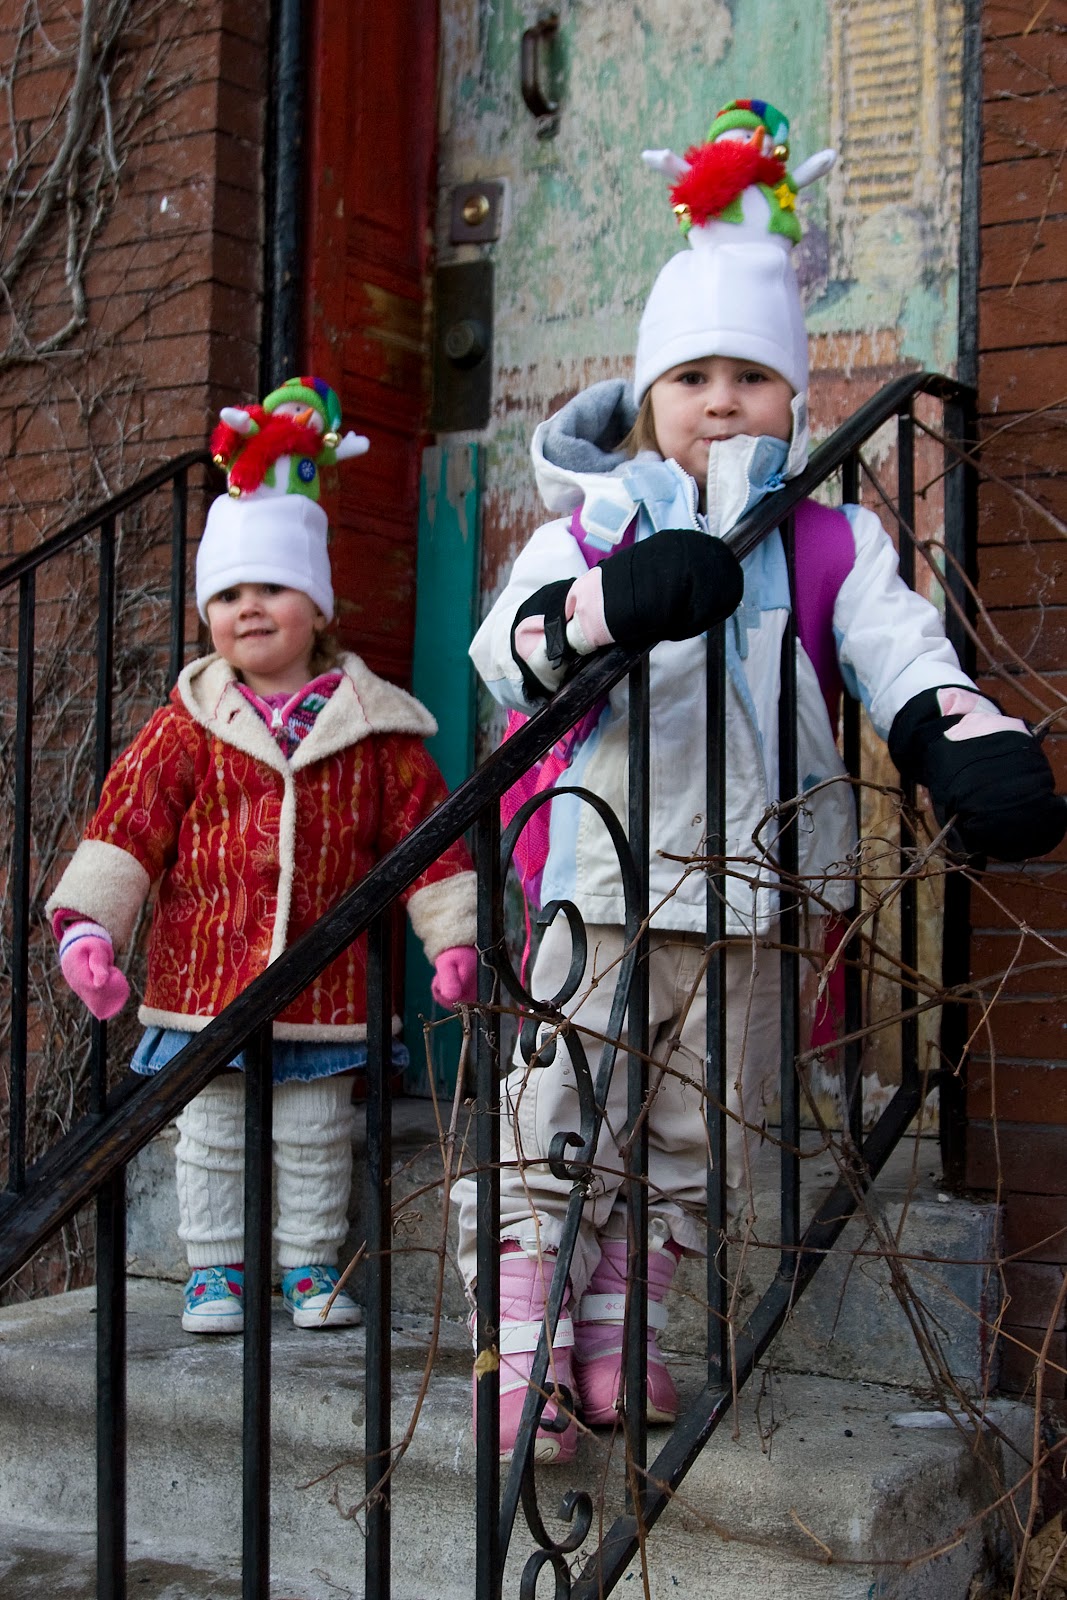
Unfortunately, the painting is not yet on the wall, so when I set it up for a quick picture, Alli and Ruby stole the spotlight.


They too look great framed in crackled gold.