Friday, December 2, 2011

Christmas Painting

We have a big frame in our dining room... two feet by four feet.  I have made several seasonal paintings to go into the frame using inexpensive underlayment board from the home improvement store.  I bought two four-by-eight foot sheets (about $10 a sheet) and had them cut down into eight two-by- four foot sections.  I primed them and painted them.  So I have several paintings that fit the frame, and throughout the year, the painting gets switched.
Here is the summer painting.
And if you click here, you can see the Thanksgiving painting in the bottom photo.
Anyhow, last December I started a Christmas painting... and I didn't finish it in time... actually it wasn't really finished at all.  I made a good start.  This year I pulled out that painting and got to work on it.  I repainted most of it.  The composition stayed the same.  The subjects stayed the same (except the goat that was turned into a pony per a little girl's request). 
This morning the paint was dry, so I popped it into the frame and put it up.


And here is another angle...

I'm pretty happy with it.


shirt re-do


Hello friends!  It has been a while.  Here is a comfy t-shirt dress that I made for my daughter.  The t-shirt was an adult size small and after I was done, it was a kids size 5/6 dress.
Easy peasy.

I am making another one and taking tutorial photos as I go, so stay tuned!

Thursday, October 6, 2011

my romantic dollar

I scored this couple for $1 (they were originally $4, marked down to $2, and it was half-off day) at the local thrift shop.  I couldn't resist them as they stared at me from the shelf.  They were probably once boring bookends that ended up getting sent to the thrift store.
I brought them home and perched them on a book in front of our window... oh, and I turned them to face each other.

In front of the window they turn into silhouettes.
I love the space between them...

Can't you feel the electricity!? 


Probably one of my best $1 purchases ever.

Tuesday, September 13, 2011

$2.99 shoe redo


I got these shoes for $2.99 a pair (at Marcs).  My girls do not like plain things, but for $2.99 I knew I could make them work.

I like Converses.  They hold up much better than other, more expensive brands.  Last Christmas we bought Alli a pair of sparkly Stride Rites (good shoes, right?!).  Well, by the end of February they looked like hobo shoes... complete with falling off rubber pieces and holes.  (And Alli had been wearing her boots to school since it was winter, so they were only worn indoors.)  They were replaced with Converses which she wore and loved and outgrew... and they still look great seven months later.  (I will save them for Ruby.)
Anyhow...
I painted the shoes.
To do this, I removed the laces.  I used quality acrylic paint (it comes in tubes and is pretty thick).  The better paint holds its color better and is less brittle.  I watered the paint down to the consistency of salad dressing (runny, makes a puddle, but not too thin).  The paint should spread easily and soak into the fabric a little. but not all the way through to the inside lining.
Painting on shoes isn't too difficult.  I used a small brush near the edges and around fine details, and I used a bigger brush to fill in the rest.  I kept a wet wipe nearby for when I got paint on the rubber part.
The girls picked their colors.  And Alli wanted stripes on her tongue and Ruby wanted polka-dots.

We let them dry for about an hour.  It was tough waiting.

Worth the wait.

We laced them up... and then the girls checked to see if they could run faster with their new shoes.

They were pretty fast.

Ruby said she would wear these shoes forever.  (Not likely.)

All smiles for Alli.

I'm thinking I should go back and stock up on bigger sizes.


Friday, August 5, 2011

a purse that used to be a sweater...


My niece found a sweater at a thrift store.  She loved it, but it was a bit too small.  So the beloved sweater ended up in the giveaway pile that goes from my sister's house to my house.  It was too big for my kids and too small for me, and so I recycled the sweater.

And now the thrift sweater has a new life as a purse.

Wednesday, July 13, 2011

I made this dress


I made this dress for June out of designer fabric samples... the kind that come bound in an 11x17 book.  Not much to work with.
I pieced my favorite toile prints together.  There are at least seven or eight different toile prints combined on this dress.  I tried to stick with patterns based on red, yellow and blue. 
I have to admit, there were moments while making this, that I wondered if it would be cute or hideous.  There is no middle ground here.  I kept plugging away at it with the voice of Tim Gunn saying, "Make it work!" in my head.
The three red rosettes were made from strips of the same red fabric used on the band.  I found the tutorial online.  Here is one tutorial... I couldn't find the original one I used.  Same idea, but I didn't use glue.  I stitched it all.

I added a pocket on the front for the little treasures June finds here and there.
The red rosettes, the trim on the pocket, and the band at the bottom pull it all together. 
It is sophisticated and whimsical.
And I think it works.


Tuesday, May 17, 2011

Pink.


When Grandma Utah was in town, she painted Ruby and June's room pink.  Bold pink.  I love it, but now I need to get new curtains for their room.  The current curtains match, but the saturated color and the busy, colorful pattern are too much.  So I am looking for a white cotton fabric with large white polka dots.  Anyone have any suggestions?  Wal-Mart had a similar type of curtain... but the fabric was cheap and it would have cost me $40 for four panels.  If I can't find what I am thinking of, I will have to figure out a way to make it. 

Sunday, May 8, 2011

fun with paint


I finished a flower painting for our dining room.
And Grandma Utah painted Ruby and June's room.

Pink is an understatement.

For my Mom


I made this for my Mom.  She deserves a comfy and stylish place to prop up her feet.

I found this wonderful crewel fabric remnant at Chelsea Design House in Columbus.  I love the rich texture and jewel-toned colors.  The bird and bugs are playful, but the fabric has a very classic look.
A whole bag stuffed full of fabric samples costs $5.  For real.
The wood base came from a broken tray table we had.  $0.
The curvy brass legs came off of another footstool that had broken.  The old footstool cost about $8 from Goodwill.
The stuffing is a cheap pillow.
You may be thinking, "Wow Karyn.  You are cheap."
My Mom calls it "thrifty."
And she taught me all I know about thriftiness.

Happy Mothers Day!

Friday, April 8, 2011

A Fancy Bench

My sister-in-law gave me this bench.  It had been given to her... she wasn't quite sure what to do with it.  So she gave it to me.

The fabric was filthy, faded, and worn.
But check out those legs!

(Imagine cat-call here.)
So I pulled out my bins of fabric, and I found a piece of silk/linen blend that wasn't quite big enough, but I had several small samples of the same fabric in different colors.

So I ironed them and sewed them all together. And ironed it all again.

The strip of colored fabrics is off center.  I like it like that.
Now for the dirty part...
I took off the legs.
I pulled off the old fabric and carefully took out the old nails.  The nails were original square-shaft nails that had been hand-crafted long ago.  I wanted to save them to tack the bottom lining back on.
The padding under the old fabric was made from straw.  I kept the straw cushion, but added two layers of batting to make it cushier.   I kept the vacuum handy for this part.  There were bits of straw and shreds of fabric everywhere.
I stretched the new fabric onto the seat, working from the center out.

I used the staple gun to tack the cloth on... making sure to trim around the bolts where the legs attach.
Here's a look at a corner...

To finish it off nicely, I covered the bottom with a lush piece of burnt orange fabric.  Using the original nails that I had pulled out of the bench earlier, I tacked the orange cloth onto the bottom, covering the staples and edges of the silk/linen fabric.  I love the old nails on this piece.  They make the fabric look like it has always been there.

Of course, as soon as I am through, June has to try it out.

(Yes, the art room is a mess... a productive mess.)
And here is the bench in it's new spot...


Tuesday, March 29, 2011

Designer Outfit, Thrifty Price

A few years ago, I splurged on a sampling of fine dark chocolates from around the world (hooray for Costco!).  Ever since then, I do not like Snickers, 3 Musketeers, Hershey bars, etc.  Halloween candy doesn't really tempt me.  I want the good stuff.
When we lived in Chicago, there was a tiny thrift shop across the street that was a gold mine for designer duds.  I quickly developed a taste for designer jeans.  Ever since then, I do not like Old Navy jeans.  Not even tempting.  I want the jeans that fit perfectly, last for years, keep their shape, and have well-crafted details.  Luckily for my husband, I am cheap... too cheap to shop at Nordstrom.  I get my designer fix at the thrift shop or deeply-discounted stores.
The jacket is from my Chicago thrift store.  I got it at a fill-a-bag-for-$5 sale.  ($5 divided by a paper bag stuffed with clothes= super duper cheap.)  I love the bright, bold pattern, the large squarish buttons and the purple piping on the inside seams.  The necklace is from an estate auction: $3.  The brown t-shirt was from MJR sales.  It was 75% off of $5... it had a tiny hole that I had to stitch shut.  My jeans are Rock & Republic from my Chicago thrift store: $6.  My strappy gold wedge sandals are from a thrift shop in Columbus: $3.  They were almost brand new.  They are quite comfortable and darling.

This outfit cost less than $20.


As a bonus, the chair was $1 at an estate auction.  That's right.
And I made the pillows.

If you are thrifty with your fashion, there is a nifty contest here.

Friday, February 18, 2011

Alli's new room!

Alli turned seven this year, and the big gift was her very own room.  She got the room that June used to have (and June now shared with Ruby).  The room started out pretty bare... beige carpet and walls.  The crib came down and the rocking chair found a new spot.  It was a blank canvas.  And so the makeover began...

The new room was going to be a surprise, but it is hard to keep a room secret.  Alli found out, and then she had all kinds of ideas of what it should be like.  She made a sketch and I made a sketch and we worked together to get it just right.
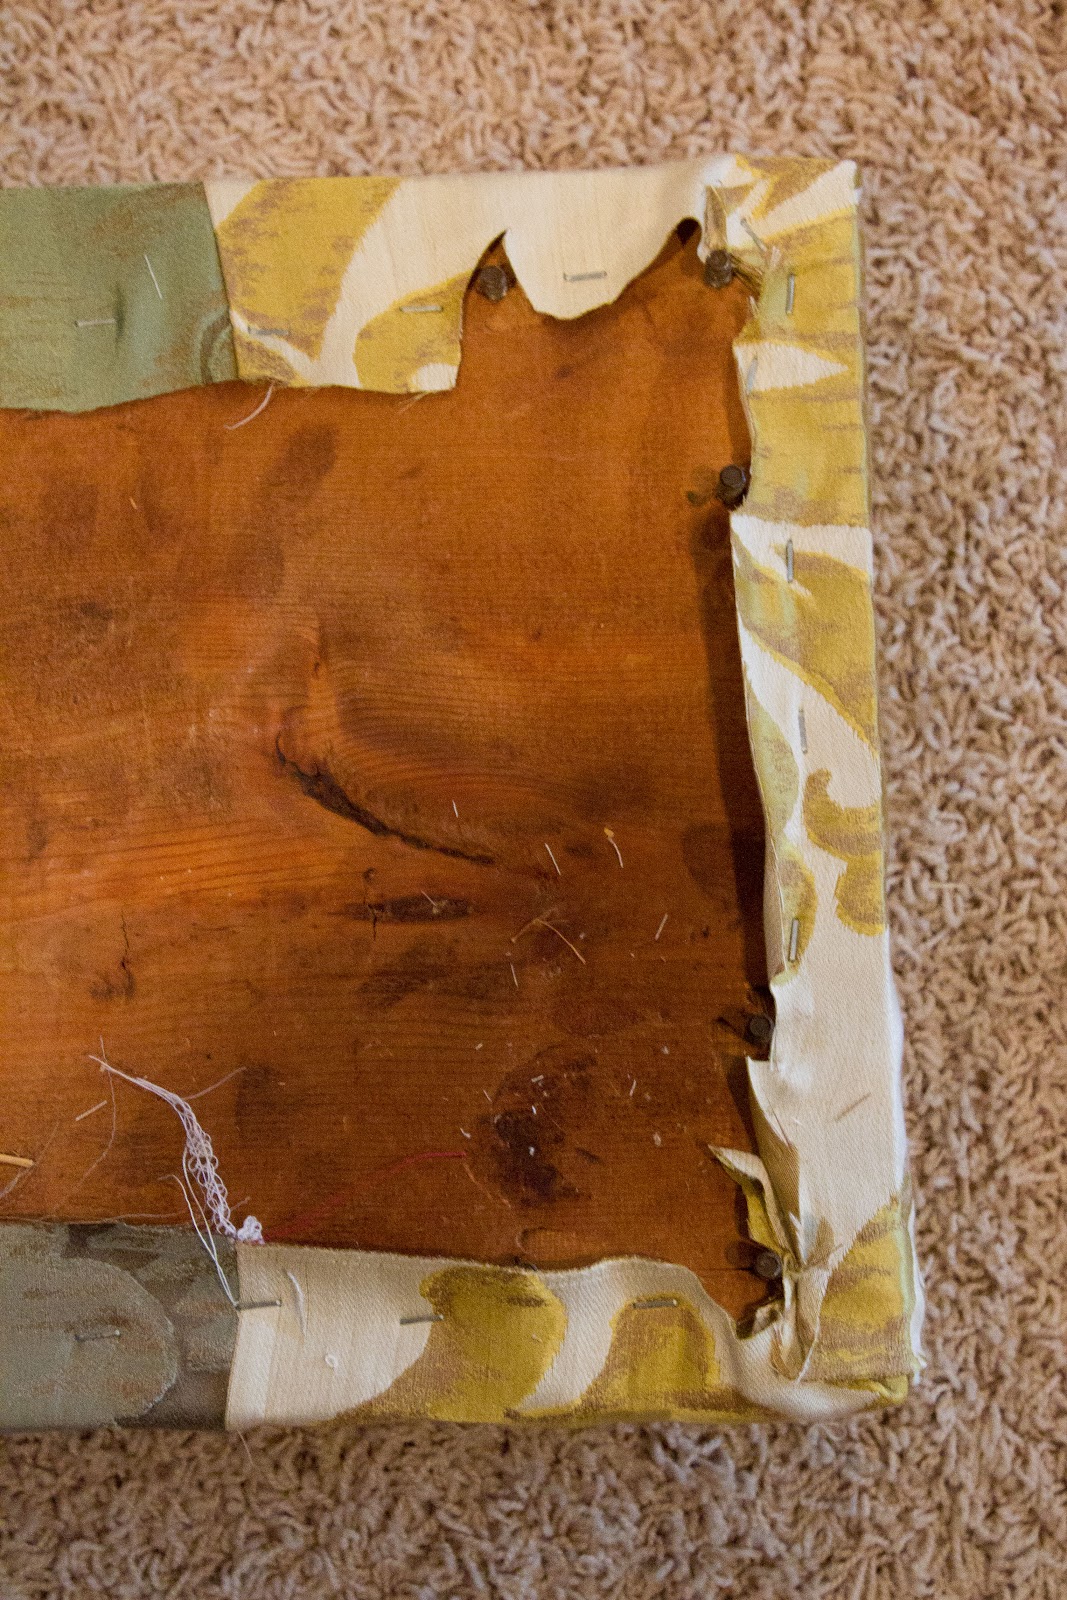
She wanted a place to display her drawings and hang her calendar.  I got this bulletin board for $5.  It was used, but I painted the cork with Modge Podge and covered it with fabric and then painted a second layer of Modge Podge on top.  It is cute with or without papers hanging on it.

Alli really wanted a nightstand.  And we had one that wasn't really being used in our guest room.  This nightstand came from an alley in Chicago.  Free.  With a fresh coat of paint, new hardware, and some distressing around the edges, it is as good as new.

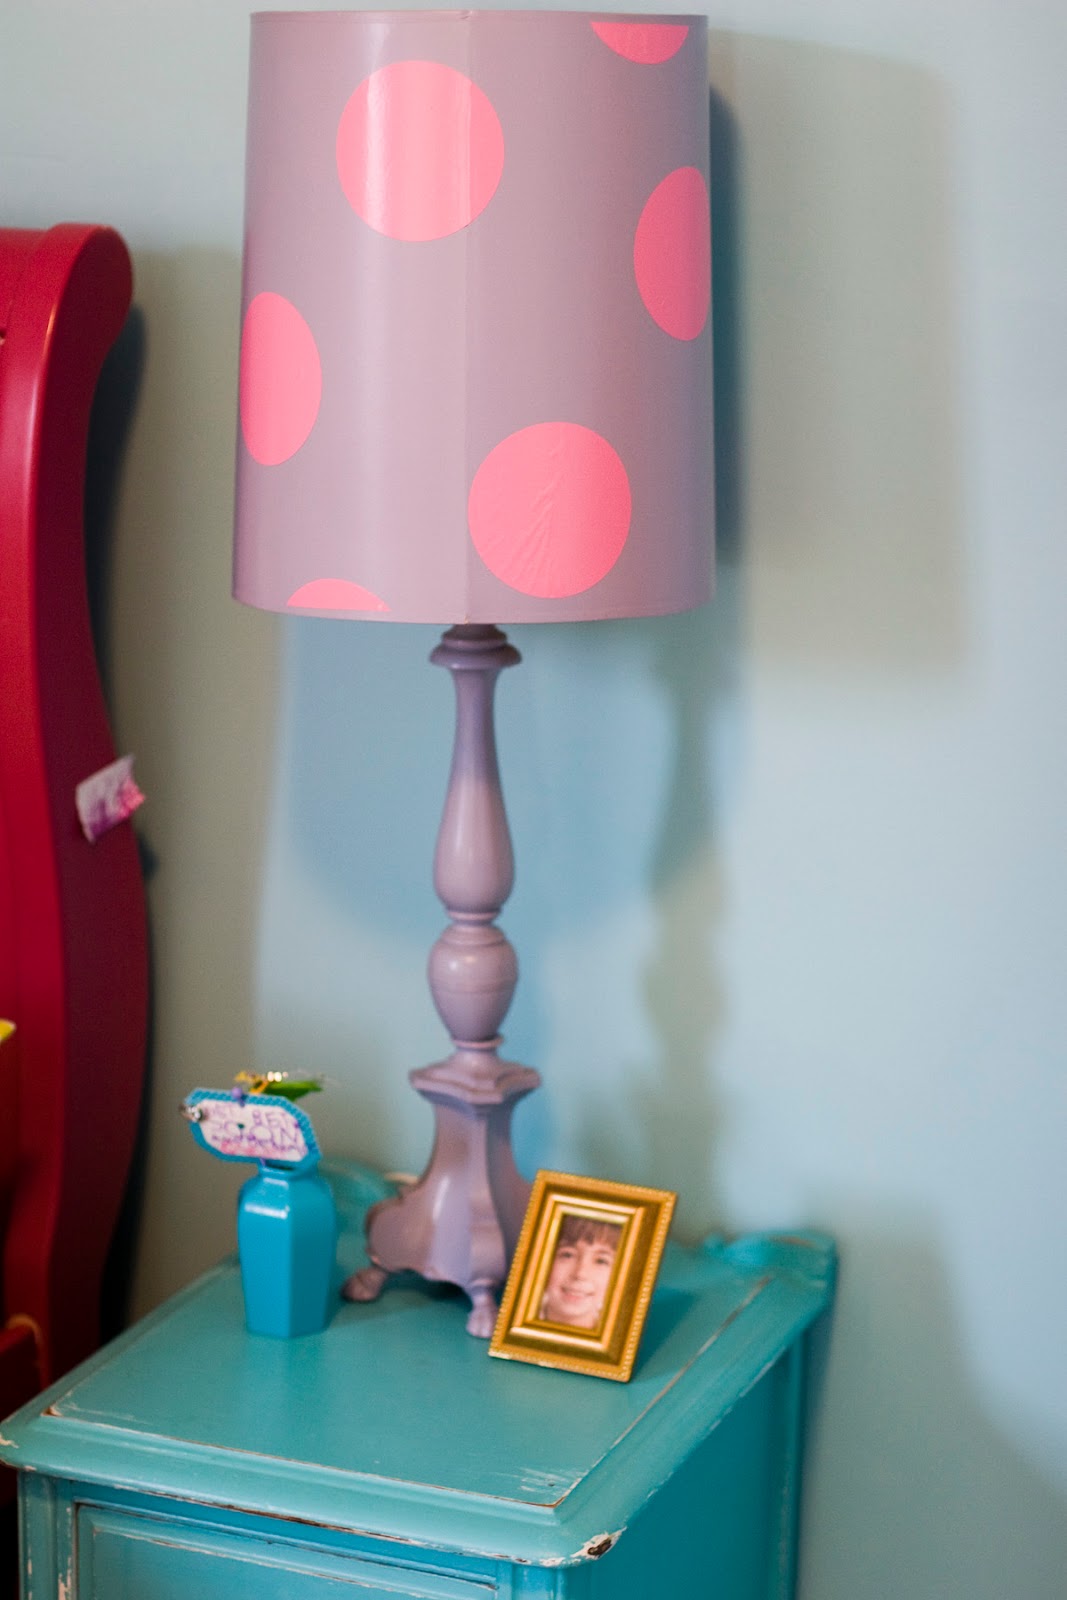
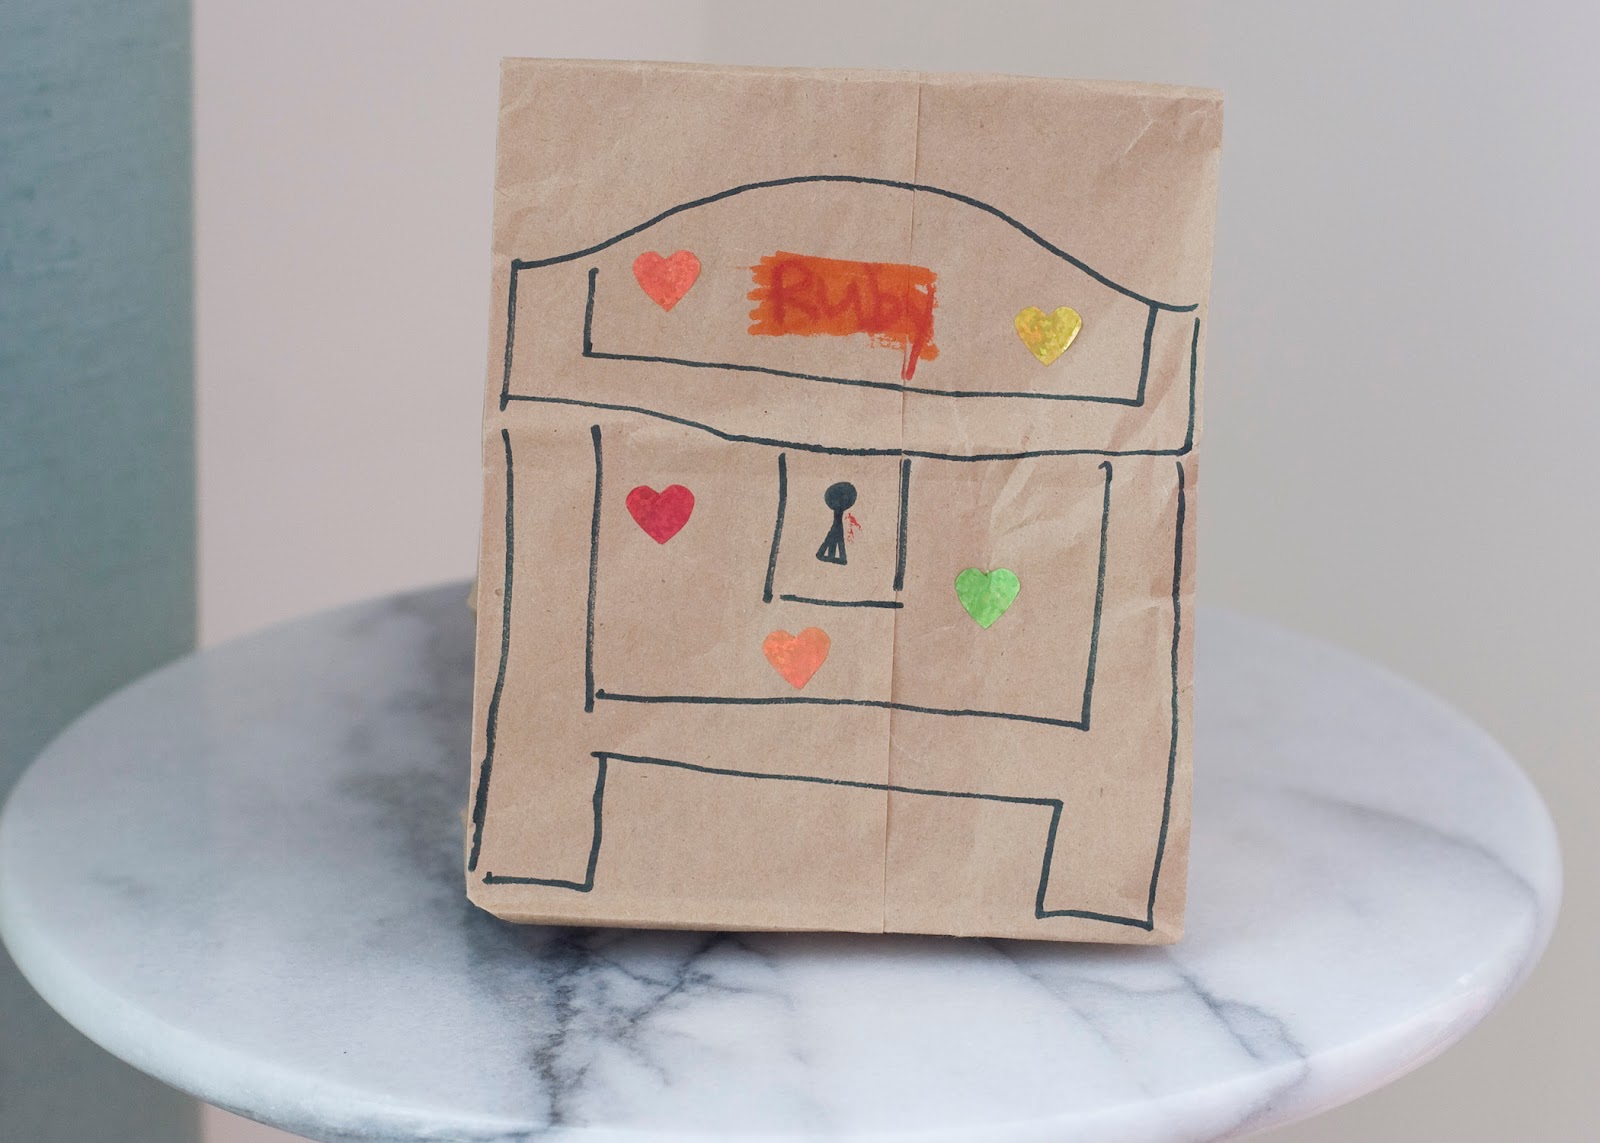
Alli keeps books, her journal, pencils, tissues and other necessities in the drawers.  She keeps a little vase with a note from Ruby, a lamp, and a picture of her friend on top.
The lamp came from an estate auction.  It cost about $5.  It was purple when I got it.  Inspired by Eddie Ross, I fancied-up the shade.  I added pink circle stickers to the shade to made it pop.  I made the stickers with some pink sticker vinyl that I had and the QuicKutz Revolution die cutter.  The polka dots are so whimsical and fun, best of all, it was so easy to do!
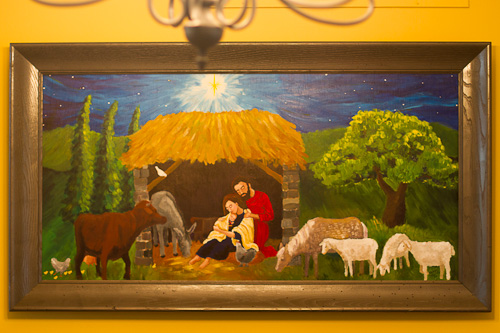
Above Alli's bed is a fairy painting.  She found an illustration in a library book that she just loved.  I painted the picture on canvas board put it in a simple wood frame.  I love how the fairy looks down on the bed.

The owl on the bed was a Christmas gift.  Alli asked for something homemade.  And she asked for a Pillow Pet.  So I made a pillow pet for her (which wasn't quite what she had in mind... but she loves it now).
The bed was purchased years ago when Alli graduated from the crib.  It is a magenta sleigh bed with a trundle.  I got it for $75 off of Craigslist.  Alli did get a nice new mattress.  I was able to get it for $75 (50% off!) using a Groupon deal at DFW.
The square pillow came from Marc's for $3.99.  It is a down pillow.  I made the cover from a sample of designer upholstery fabric.  A bag-full of fabric samples is $5 at Chelsea Design House Warehouse in Columbus.
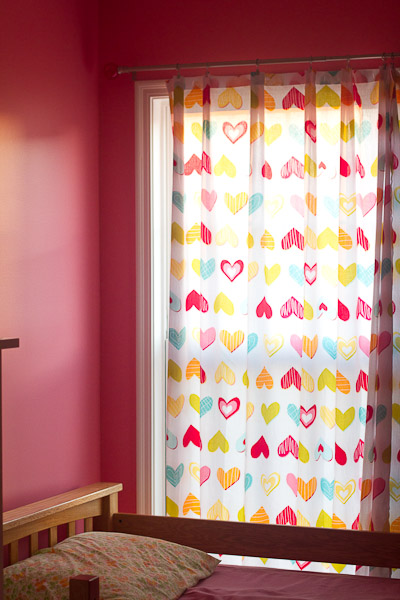
Alli's duvet cover is made from a king-sized sheet folded in half and sewn up the sides.  There is an opening at the bottom of the blanket to remove the feather blanket inside.  I purchased the sheet at a thrift store for 75 cents.  I loved the color and the bold, graphic pattern.
Alli's dresser is from an estate auction.  I think is was $3.  With paint and a little distressing around the edges... and some gluing and repairs on the drawers by my handsome handyman... it is adorable and functional.

For a laundry hamper, I used some heavyweight oil cloth and sewed a tote with handles.  It is easy for Alli to bring her dirty clothes down to the laundry room.  And it is a cute tote too.
My sister gave me the vintage mirror above Alli's dresser.  Alli keeps a few of her treasures on the dresser: a diorama, her piggybank, the alarm clock, and her CD player.
Of course there is a bookcase in Alli's room.  My brother Dan made this a few years ago.  It needed a fresh coat of paint, and I decoupaged some fabric on the roof.

Everyone loves the book shelf.
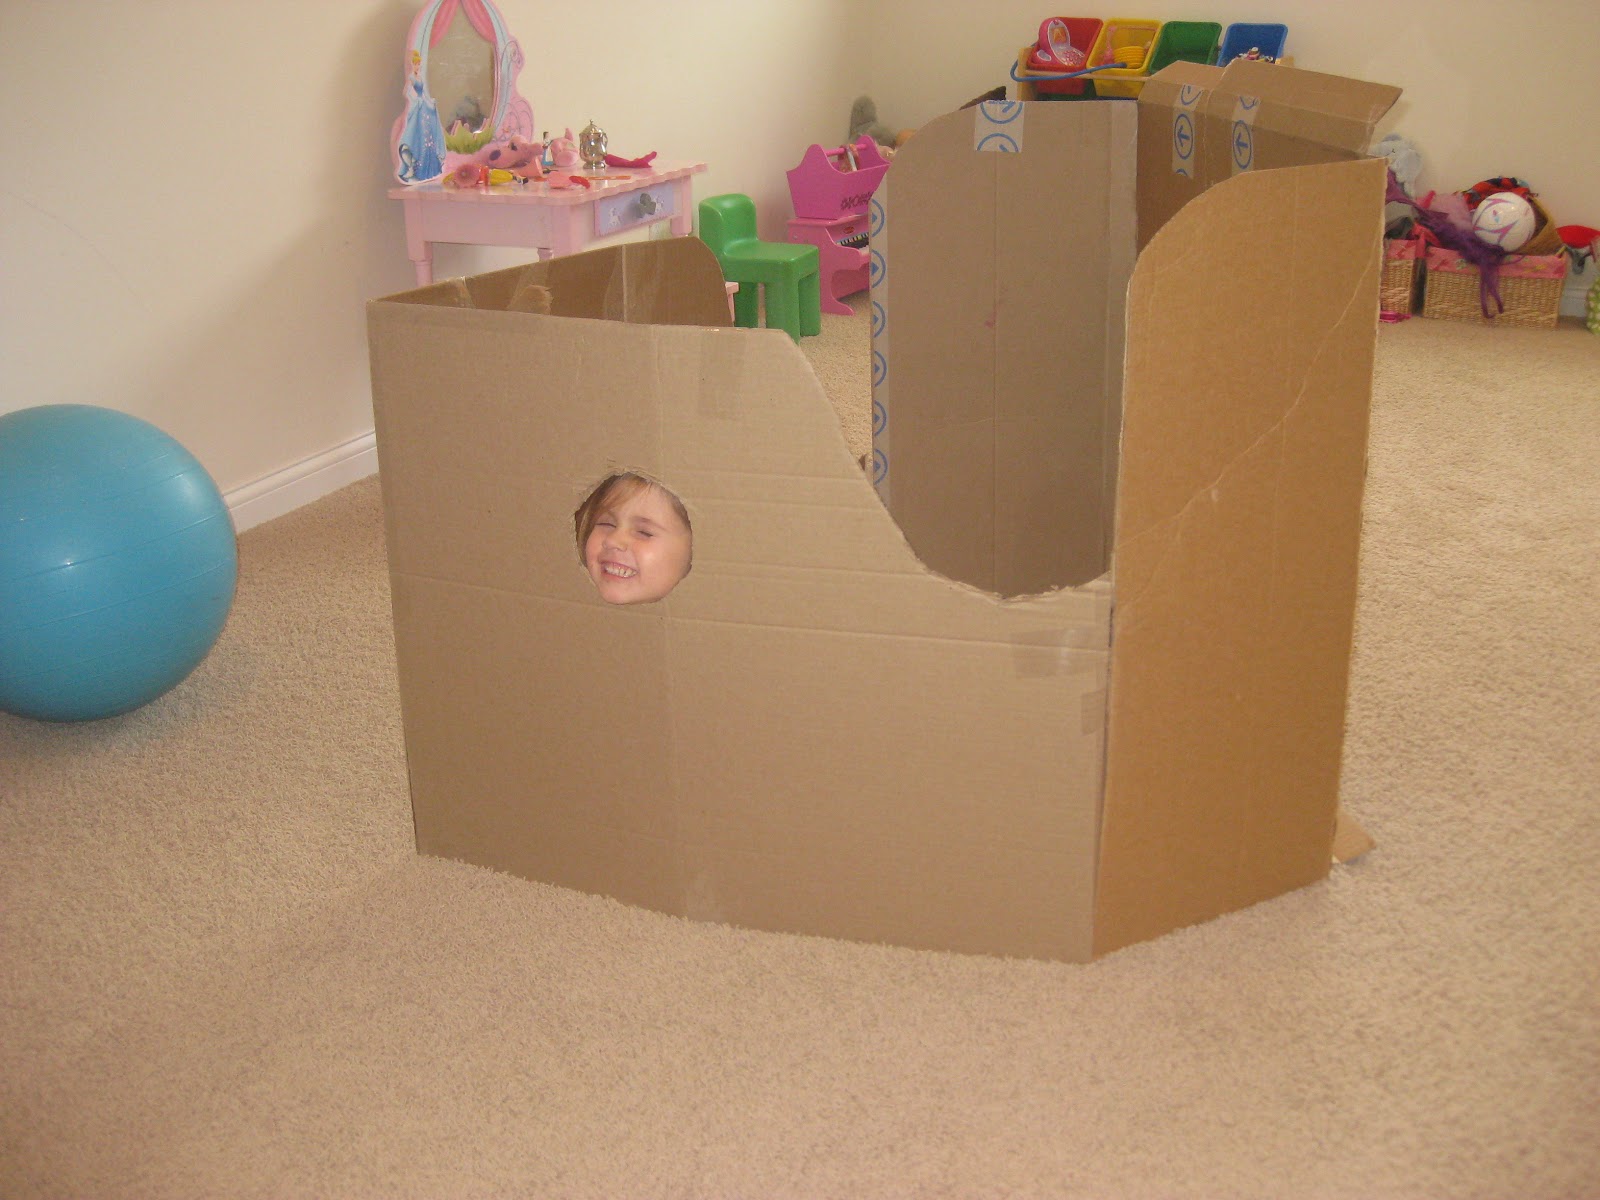
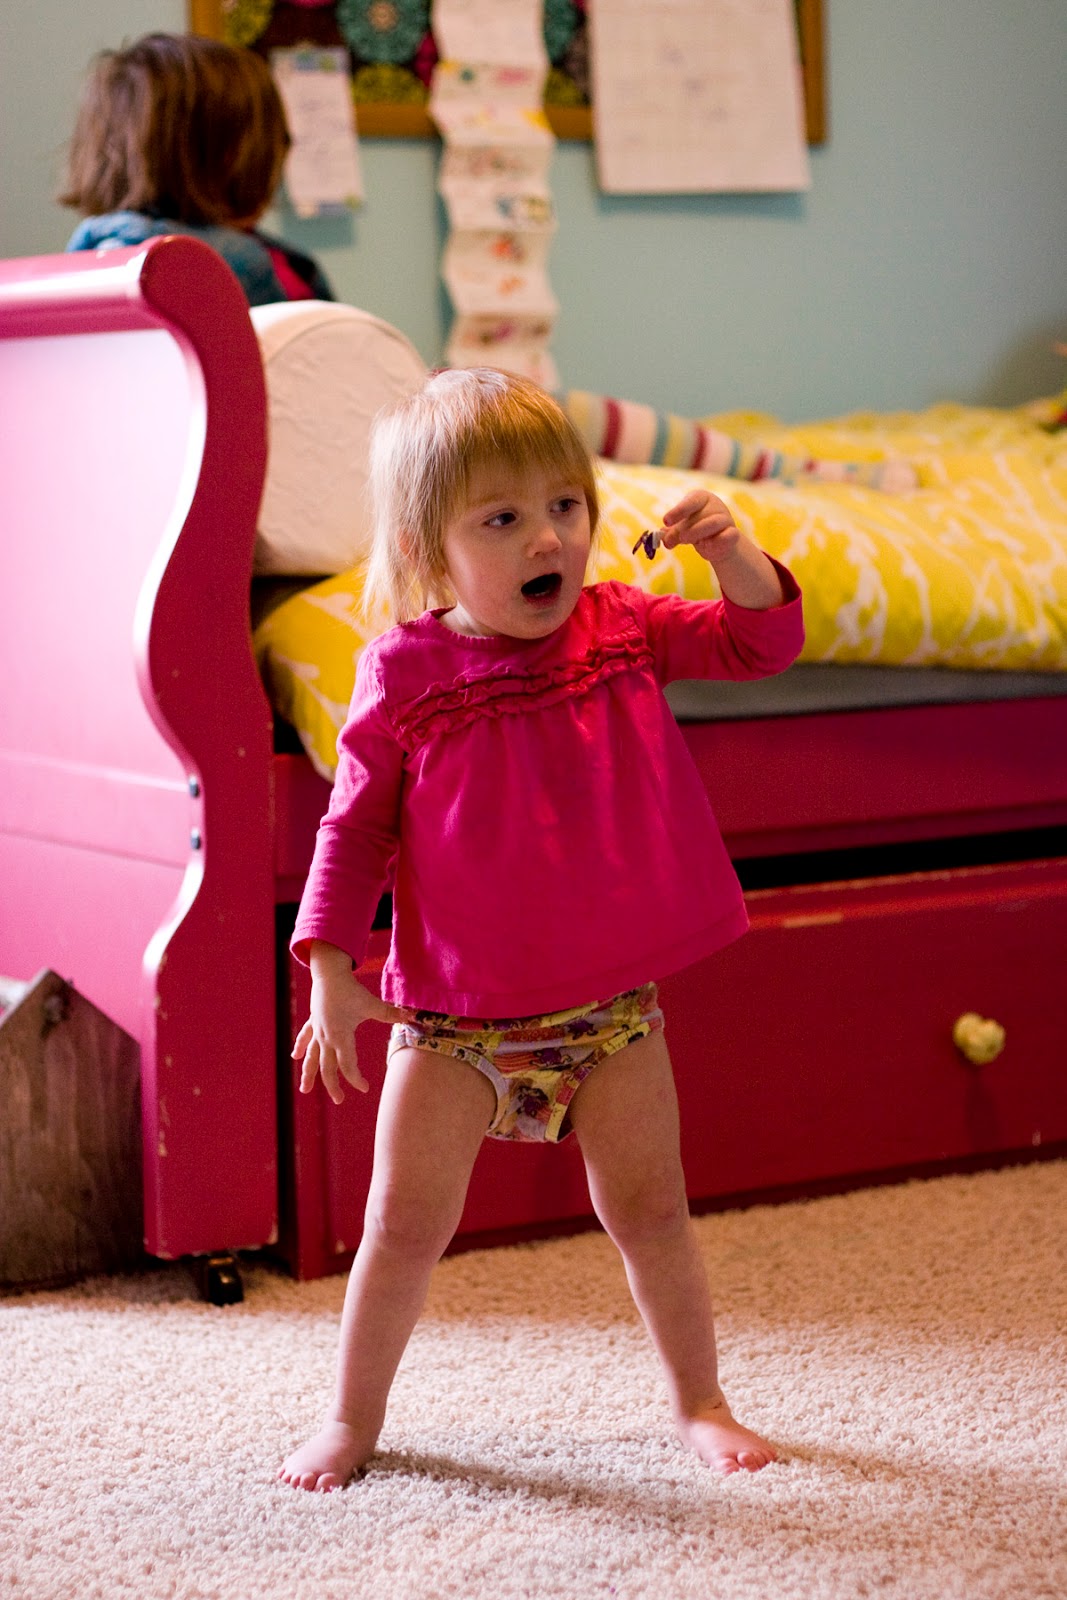
And no big sister's room is complete without little sisters trying to get in!

Alli loves having her own space.  This room is Alli through and through.

After reading this, you may think I am cheap.  I sort of am.  I like really nice stuff, but I don't want to pay full price for it.  If you take the time to hunt down the bargains, design can be done for cheap. This whole room was painted, furnished, and decorated for about $250.  Not bad.


Wednesday, February 16, 2011

I love you banner!


I made a fabric banner for Valentine's Day... or any love-celebration day.
On one side it says "I love you."


On the other side there are birds, a bee, a flower, a tree...

You know, love stuff.

Monday, January 17, 2011

Pirate Party Details!

A certain young pirate turned seven!!!
And so we had to celebrate!  Alli wanted a pirate birthday party.  So I have been collecting and dreaming up pirate party ideas for a few months.

We sent out invitations with a treasure map on the envelope.  If you know our part of the neighborhood, you may recognize the streets as the water.  The maps for the kids in the neighborhood showed how to get to the X from their own houses.  For the kids who don't live in the neighborhood, the map covered a larger area and had street labels on the waterways.

The invitation says:
Ahoy Pirate friend!  Ye are invited to celebrate Cap'n Alli's 7th birthday on Monday..... from 9-11am.  A hearty breakfast will be served... cake too!  Come dressed in your pirate best... or walk the plank!
We all dressed up.

The kids costumes were easy.  We had a bunch of pirate accessories.
For my costume I wore a wide-striped shirt, a pair of capris that I cut off with a jagged edge, and a bandanna around my hair.

I looked like a deck hand.

My sister came with a much more exciting ensemble...

She wore her husband's white shirt with lots of jewelry and scarves.  For the mustache and goatee, she glued hair onto her face.  Afterwards it peeled right off.  Where did the hair come from?  She has a teenage son with a big red curly mop of hair... maybe he should check for missing locks!
My brother took a different approach...

Sort of a pirate wizard.

We played a fishing game at the party.

The kids sat around the "pool" (a blue blanket) where there were fish, gators, sharks, and a wooden plank.

The fish have paper clips sewn in them, and the fishing pole had a magnet on the end of the string.
On the back of each fish was a message...

"Pick 1 prize" 
"go again"
"shout ARG!"
"Walk the PLANK!"
We passed the fishing pole around and the kids took turns fishing.  I switched out the notes in the fish after each one was caught... these are clever kids you know.
Once everyone had a few turns, those who didn't end up winning a prize got to pick a prize... so everyone got something.

Here is how I made the paper gators...

I cut out these shapes (two fit on one 8.5x11 piece of paper).  On the top I drew eyes.  On the bottom, I drew nostrils.  Where the dotted lines are, I folded it so I turned out like this...

There were shark fins sticking out of the water too.  (Shark fin = triangle folded in half.)

Alli picked the theme of her party long ago, and so I was able to pick up some party gear on sale after Halloween! 

Down in the playroom there was a boat.

Never underestimate the power of a cardboard box!

We had two large white boards and a bunch of dry-erase markers.  The kids drew pirates and treasure maps.  I didn't take a picture, but you can see a little bit of it behind this pirate.


We played a treasure hunt game.  Clues were written on post-it notes and hidden around the house, one clue leading to another.  The clues led to the "treasure" which was a bowl of prizes for everyone.
The treat bags were simple paper bags with a treasure chest drawn on each.  Ruby embellished hers with heart stickers.

It was a fun party.  I'm glad Alli picked pirates as a theme this year... and I can't wait to see what she will want for next year!