Tuesday, March 17, 2009

retro apron


This apron is part of a very late Christmas gift.  I appliqued the orange slice with fabric, double-sided iron-on backing, and machine stitching. 
Applique-ing was so much fun.  I might have to make some more projects with this.
Stay tuned.

Tuesday, March 10, 2009

creative baby gifts

I am blessed with some very talented and generous friends who have made some darling gifts for June.

My sister-in-law Sarah knitted this winter hat for June (and another coordinating one too... a Chicago girl can't have too  many!).  Obviously June loves it!  I love it too.  Knitting is not (yet?) one of my talents, so it is wonderful to have a homemade knit hat.


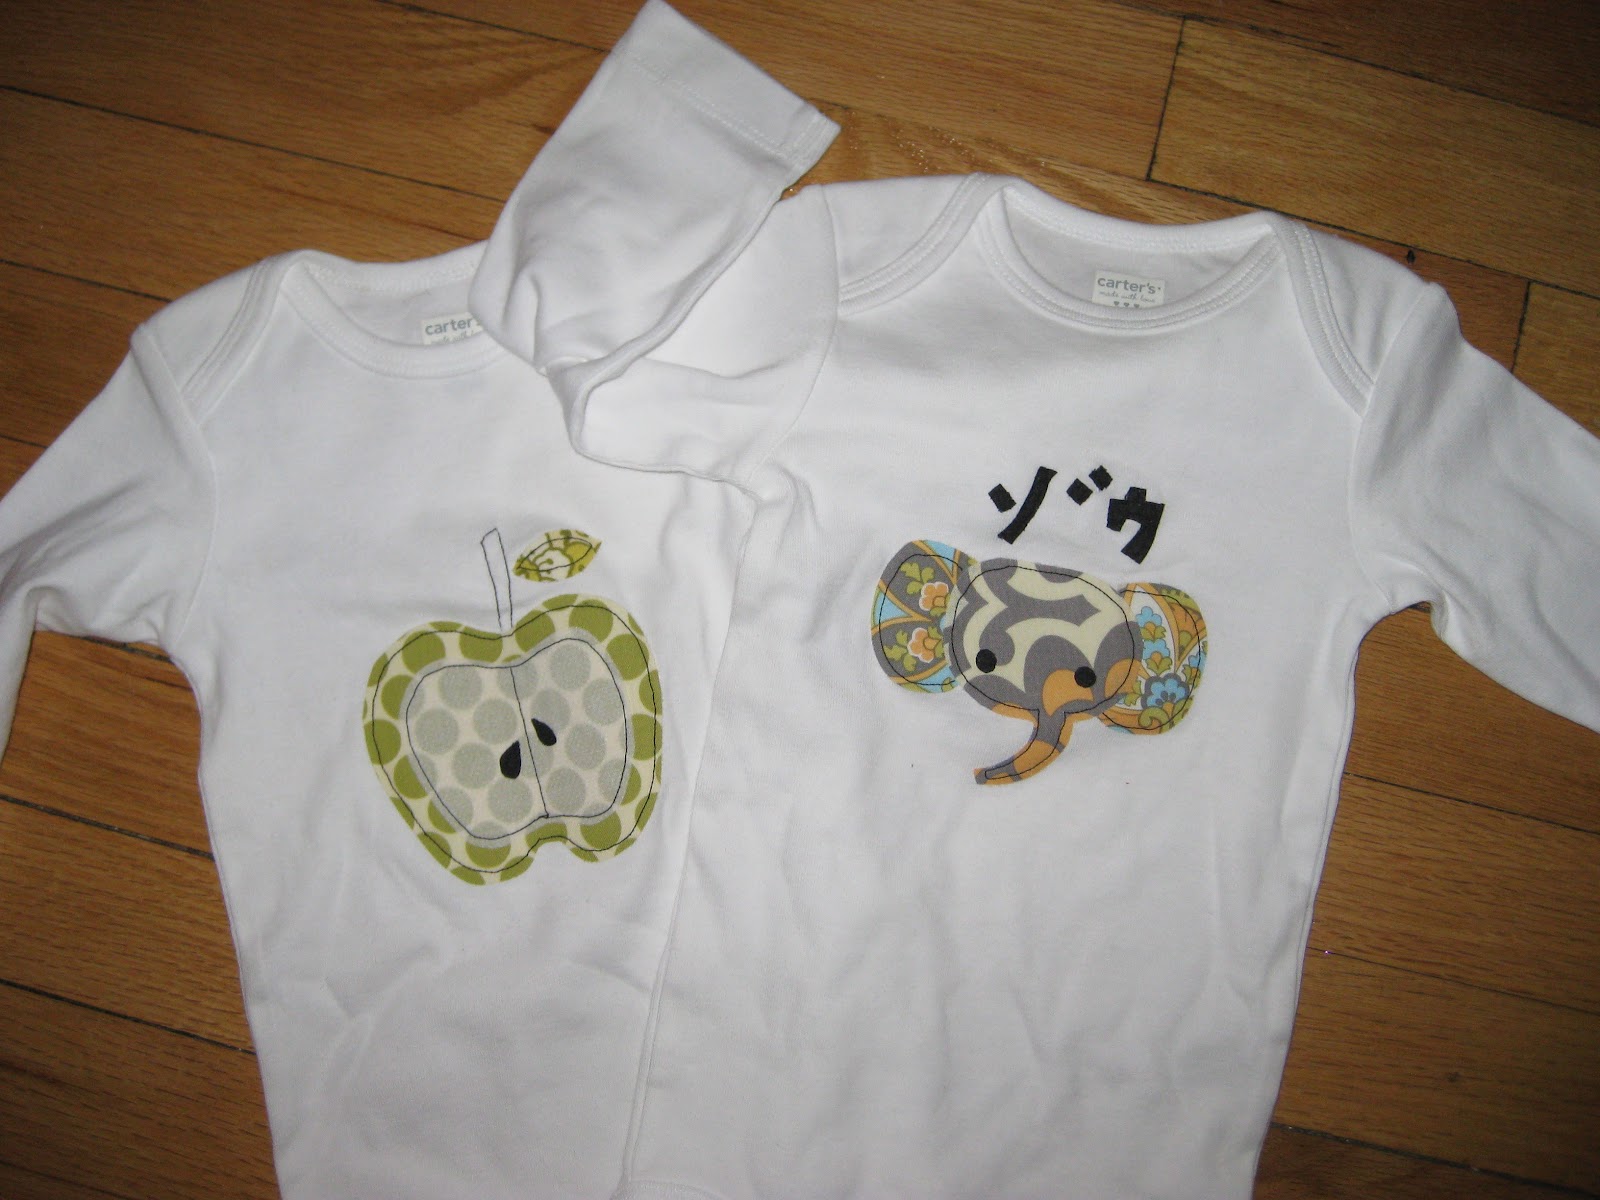
My friend Mo made these onesies with fabric, double-sided iron-on backing, and simple machine stitching.  I can't wait for June to grow into these.  I think the writing over the elephant says "awesome" or something like that.


The fabulously talented Marjorie crocheted the gorgeous edging on this blanket.  It is such a beautiful touch on a simple blanket.


My dear friend Stephanie made this sweet set: bibs, burp cloths, and onesie.  I love the hand stitching around the monogram and heart!  And how baby-sophisticated to have a burp cloth that matches the outfit!


My mother-in-law made June's blessing gown.  You can see it here.

My lovely friend Kris Tina made a baby cozy for June.  That's right.  A baby cozy.  A cocoon of fuzziness.  Here is June snoozing away in her cozy cocoon.  Heavenly.


I love seeing the brilliant projects my friends do... and it is wonderful to be on the receiving end of their creativity! 


Wednesday, March 4, 2009

pants for daddy's girl


I have a thing for 1) a good challenge, 2) recycling, 3) creating something unique, 4) outfitting my daughters... and this project fulfilled all those things. 

I used the shirt sleeves to make pant legs.  I sewed the shirt pocket onto the back of the pants.  I am not very great at sewing waistbands, so I used the wasteband from a pair of Ruby's shorts (they used to be pants, but the knees wore out so I made them into shorts, then the bum got worn out.... this is recycling at its best, right?).  I cut the waistband off the shorts with about 2 inches of fabric below it.  I attached the waistband to the sleeve pants.  Not too difficult.


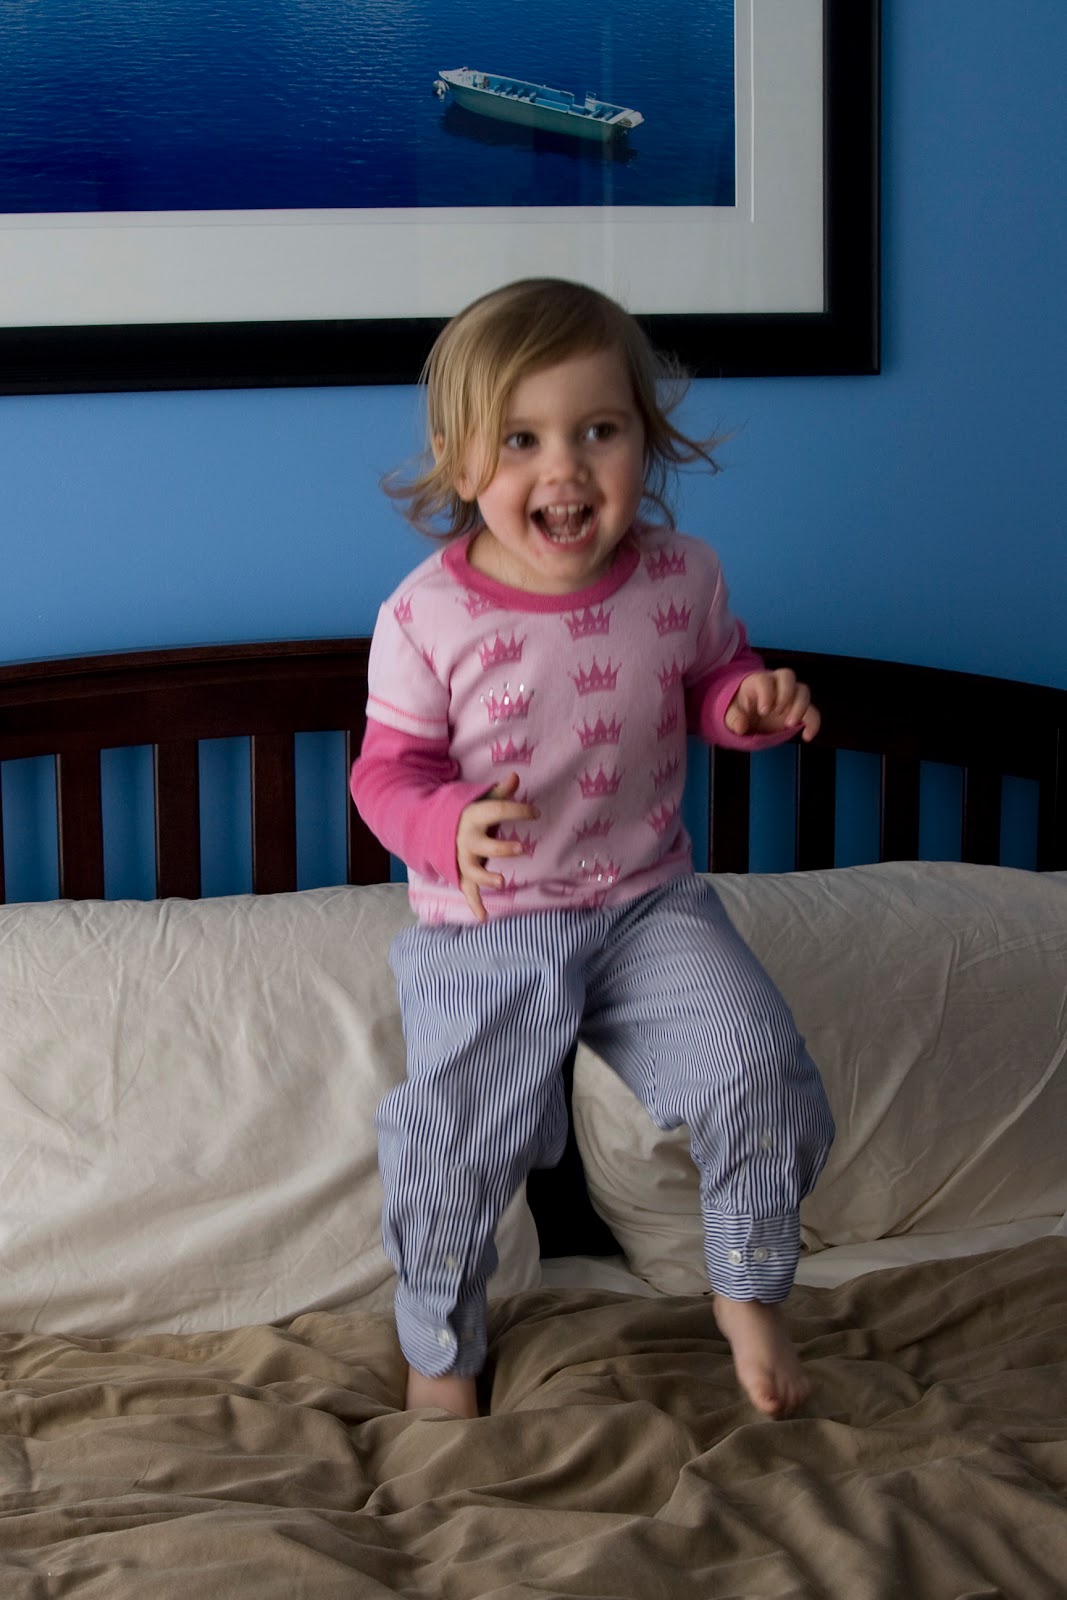
What do you think?  Ruby likes to wear this with her "Daddy's Sweetheart" shirt.

Thursday, January 29, 2009

Birthday banner


At our house, there are four January birthdays!  So I like to decorate the house a little extra special.  This year I made a fabric birthday banner.  We used it all month, and I will pull it out in June... and again and again over the years.
I stuck with a gender-neutral rainbow palette.  I used bright, basic colors, but you could do this in any color theme.

To do this project you will need:
28 rectangles of fabric (6-1/2 inches by 8-1/2 inches)*
felt scraps... enough to cut out 26 letters
10 feet or more of twill binding or thick bias tape (or doubled up ribbon)
2 curtain rings with clips
a sewing machine that can do a straight stitch

*This is a great use for your collection of fat quarters and fabric remnants!

Iron all of the wrinkles and folds out of the fabric rectangles. 
Cut out the letters for HAPPY BIRTHDAY two times (for front and back).  I cut out the letters by hand, so I went for the multi-font look... unity in the variety.  The letters should be about 5 inches tall.  If you are making multi-colored letters, you may want to lay out your rectangles so you can coordinate your letters with their backgrounds.
Sew one letter onto each rectangle... there will be two blank rectangles.  Just a simple, straight stitch will do.
This is the tricky part... lay out the first set of letters spelling HAPPY BIRTHDAY (make sure to leave a blank rectangle between words).  Lay out the second set of letters below in this order YADHTRIB YPPAH (don't forget the blank rectangle in between words).  They should line up like this (I used the @ to show the blank space):

H A P P Y @ B I R T H D A Y
Y A D H T R I B @ Y P P A H

Sew the H rectangle to the Y rectangle with letters facing in, then flip inside out.  Sew the A to the A, letters facing in, flip inside out.  Repeat with remaining letters.  You will end up with HAPPY BIRTHDAY on both sides of your flags. 
Line up your flags with about 2 inches between each one.  Pin them in place on the bias tape or ribbon.    Double check to be sure your letters are in the right order on both sides.  Sew the flags in place with a straight stitch.
At each end of the ribbon or bias tape, sew a curtain ring (this makes hanging the banner much easier).
Hang your project and enjoy!


Sunday, January 11, 2009

creative


Please be patient... I have been working on a very creative project (with help from Andy)!  Her name is June Emilia.  She is beautiful!  As with any good creative work, she has caused a lot of messes and taken all my energy... but totally worth it!
Stay tuned for more crafty, creative posts, but in the meantime, enjoy a few of Alli's projects...

Sunday, December 21, 2008

variation on a theme... hats


I made myself a hat.  A floppy, funky sort of beanie.

I got a wool sweater at my favorite thrift store.  I washed it in hot water and dried it in the dryer... against the recommendations of the tag... and I did it on purpose! 
Washing and drying the wool sweater bonded the fibers together, kind of like fleece or felt.  Once the sweater was shrunken and felted (nappy), I cut it apart.  I made six panels and sewed the pieces together.  I topped it off with a big button.  It still needed a little something... so I cut a flower out of a red wool sweater that I had washed and dried, stitched around the edge, sewed a button in the middle, and attached it to the hat with a safety pin...

Voila!

I also made stockings from these sweaters... check back soon to see!

Saturday, December 13, 2008

the Muff... a $5 winter essential!

We live in Chicago, so winter is all about surviving the extreme cold.  Two years ago I got a rabbit fur muff at the thrift store for Alli ($2 or $3).  It was vintage (the satin lining was a little dirty-looking, but the fur was nearly perfect on the outside).  I freshened it up with a new fleece lining.  It was perfect to keep in the stroller for winter walks!  Alli could keep her hands toasty warm  and I didn't have to worry about lost mittens.  Unfortunately, we had only one muff and two girls who wanted warm hands. 

Then I found another muff at my favorite thrift store!  What a bargain for $3!  And it matched the original muff!

This beauty is a real rabbit fur muff.  Classic.  I am not a huge fan of fur, but since this recycling, I think the bunny might approve... or at least not disapprove.

Anyhow, to rejuvenate this vintage muff, I made a tube out of new fleece (I bought a remnant from the fabric store for 75% off the original price) for the inside.  The tube is a rectangle folded in half with one seam sewn at the bottom.  To get the right size, start by guessing and trial-and-error... start a little big because it can always be trimmed smaller.

Once the tube of fleece is ready, check the size by slipping it inside the muff.  Make sure the tube is long enough to reach the fur all around the openings on both sides.

Now get out your needle and thread!  Stitch the new fleece lining into the muff.  Be sure to stitch all the way around the hole on both sides.  The stitching doesn't have to be too pretty, fleece and fur are very forgiving.

When you are done, stick your hands into the muff and feel the fleecy-warmth!  For under $5, we have the best hand-warmer in Chicago!  Seriously, when using the muffs, Alli and Ruby have never complained about cold hands!

Here we are two winters ago, strolling with the original muff!  I did change the strap on the original muff this year.  It had a wristlet-style strap, so I took it off and put a neck strap on it (so there would be no reason to fight over who got which one).

We are glad to have two girls and two warm muffs! 

I am on the lookout for another matching muff... baby girl #3 is coming soon!